Welcome to Custom Style!
To learn a little about Brooke click here
To read the post about this photo click here
Recent Posts
Topics
Archives
Join 455 other subscribers
Sewing that's Retro, Geek, and Chic
There was a little blood (on the white fur, of course! but easy to fix), a lot of sweat (heavy upholstery fabric is hard to wrangle!), but thankfully, no tears for this build!
I ended up having to sort through 415 photos for this post! Needless to say, I have reduced that number down a little bit. (Click photos to enlarge.)
Back at the end of September, I was hired to build dresses for two identical mannequins for a revamped outdoor Christmas display in Wichita Falls. The request was for something that resembled the red satin dresses with white fur trim seen at the end of the 1954 movie White Christmas.
One of the mannequins was brought to my house.
I called her Keira. She was about the same dress size as I am – but 6 feet tall! A GIANT Barbie.
Her old outfit was sad and her wig was scraggly. So I threw away her clothes and let her borrow some of mine after a bit of a spa day.
I ordered a swatch of the Sunbrella brand red outdoor upholstery velvet. It ended up being the perfect color and had a decent drape, so I ordered 16 yards (but it seems to be sold out at the moment – not sure if they will restock it, but I hope they do!).
I bought some rip-stop nylon for lining and some white acrylic fur with an olefin backing at my local Hancock Fabrics. I also purchased outdoor upholstery thread, acrylic rhinestones (JoAnn Fabrics), and fabric glitter glue (Hobby Lobby).
I ordered hoop skirt petticoats from Petticoat Junction and the client ordered ice skates for shoes. I bought some red “parade gloves” at a Halloween store (perfect timing of a project!).
My really good friend Marlene, who is a professional film & television makeup artist, was tasked with finding and styling some appropriate wigs that could stand up to the elements.
Wensley did not like Keira and hated it when I touched her or moved her around. I think she bothered him because she wouldn’t look at him, hehe. (My dress forms don’t have faces so he just ignores them.)
There was growling and barking for many days after she arrived. Just when he had gotten a little used to Keira visiting, the big roll of velvet fabric arrived and he greeted that with the same suspicious “intruder alert!” and I caught it on video:
My husband and our brother-in-law helped me rig a stand for her, and then I was able to start working on a mockup.
My starting point for both bodices was Vogue 2979 that looks like a reproduction of Grace Kelly’s wedding dress (pictured in this old post). But the sleeve caps as drafted were too short and caused all kinds of fit issues until I popped the seam open at the shoulder. (I tried the bodice on myself and had similar problems with the fit, so beware if you are trying to use this pattern straight from the envelope.) I also lowered the underarm curve a slightly like I usually need to do for myself.
Therefore, I drafted my own sleeve from scratch and made it a two-piece sleeve while I was at it. This allowed me to include better elbow ease for Keira’s perpetually bent arms. It also made it so much easier to dress her.
My friend used glossy red model paint to repaint Keira’s outdated ‘80s lips (check out that unbelievably sharp line!) and Keira got her lovely new hair. So much better!
The skirts were just basic full circles (but huge! because she’s so tall!) and I draped & drew the cape pattern on Keira. I was really surprised that the upholstery velvet cooperated and did what I wanted it to do for the most part.
I didn’t have enough fur (I bought all there was at the store) to double fold it like I wanted to on the capelet and skirts, so I lined it with some white polyester utility fabric and did a lot of picking to pull the fur out of the seams.
If you have questions or would like to know about specific details, ask me in the comments. =)
Overall, I probably spent about 3 weeks total on this project but the work was spread out over about 6 weeks. It was a huge build to complete on my own and I was so glad when it was finished! So was Wensley.
Merry Christmas to all, and my all your Christmases be white!
My coworker sent me a mesmerizing video about the making of a Dior dress for a couture fashion show. I can’t stop watching it! I’ve shared it on Twitter a couple times already but everyone should see it, so I’m also posting it here on my blog.
If you’ve ever wondered why fashion is expensive, just try to count the number of different people who have a hand in making this gorgeous dress!
And even if you don’t particularly like the style, you can’t help but be amazed by the amount of work and engineering that goes into such a build! Those pleats! (And those heels! Want!)
Enjoy!
For Easter in 1963, Jackie Kennedy wore an Oleg Cassini dress made in pale pink linen. Fifty years later, the simple style of her dress is still beautiful, and I’ve wanted to copy it for myself for years.
This Easter I finally did.
I first fell in love with her dress when I purchased the book Jacqueline Kennedy: The White House Years, which I was lucky to find at my local Half Price Books for only $10. It is full of wonderful photos specifically of her fabulous clothes.
While I love everything about her dress, I knew I would not look good wearing such a pale pink. I look better in warm colors, and let’s face it, I am the opposite of tanned. (I’m bordering on vampire pale.)
I already had a large stash of 100% linen in an ivory color left over from a wedding dress I once made for a client. So I decided to dye some in a color I can wear.
It took me at least 6 attempts to get the final color. I almost stopped at this shade of orange, which was just a little too yellow:
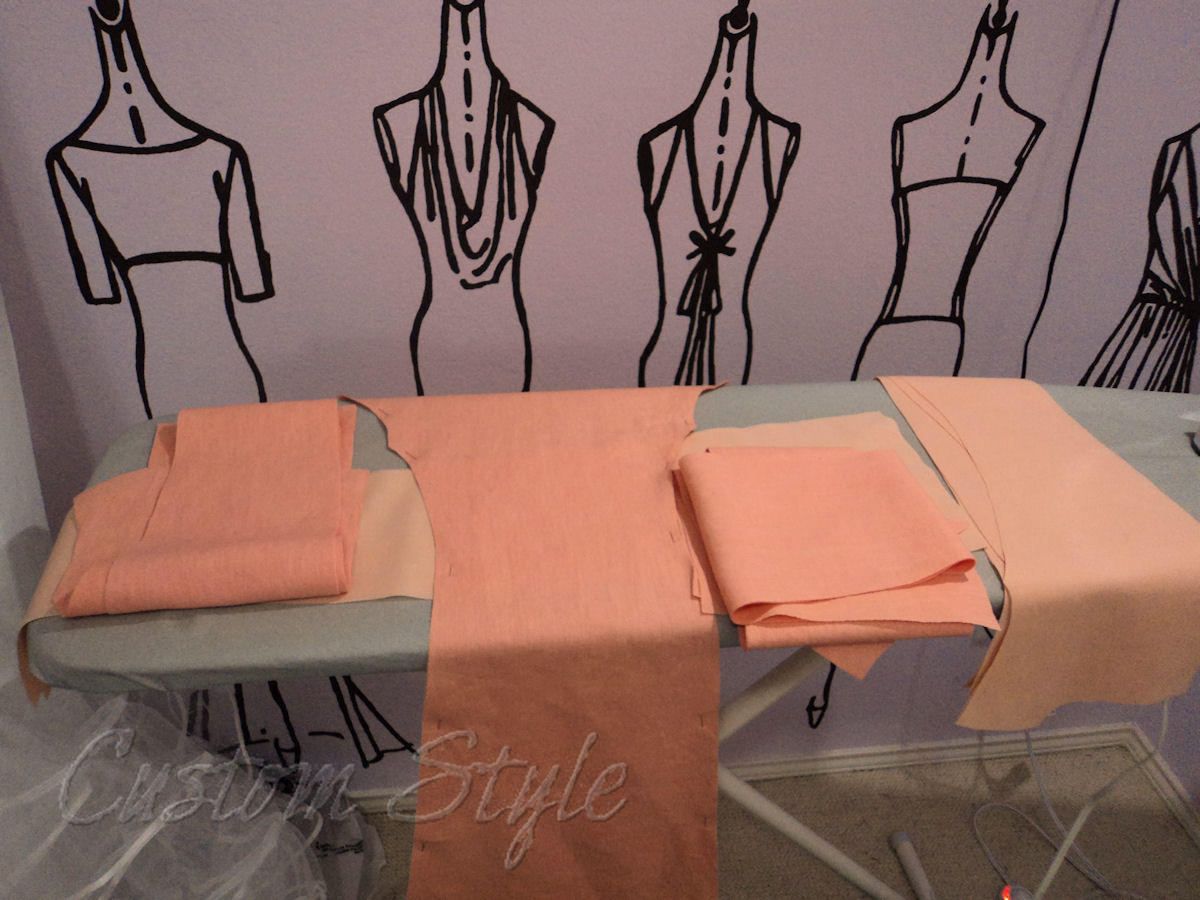
Thankfully, one of my coworkers at the time is a dye expert, and she was able to tell me what color to over-dye my linen to make it a better shade of orange. (Thanks, Susan!) I also dyed my white cotton/poly underlining fabric a similar color to prevent seams from showing through. (I checked the linen with the undyed white, and there definitely would have been some color difference around the seams had I left it white.)
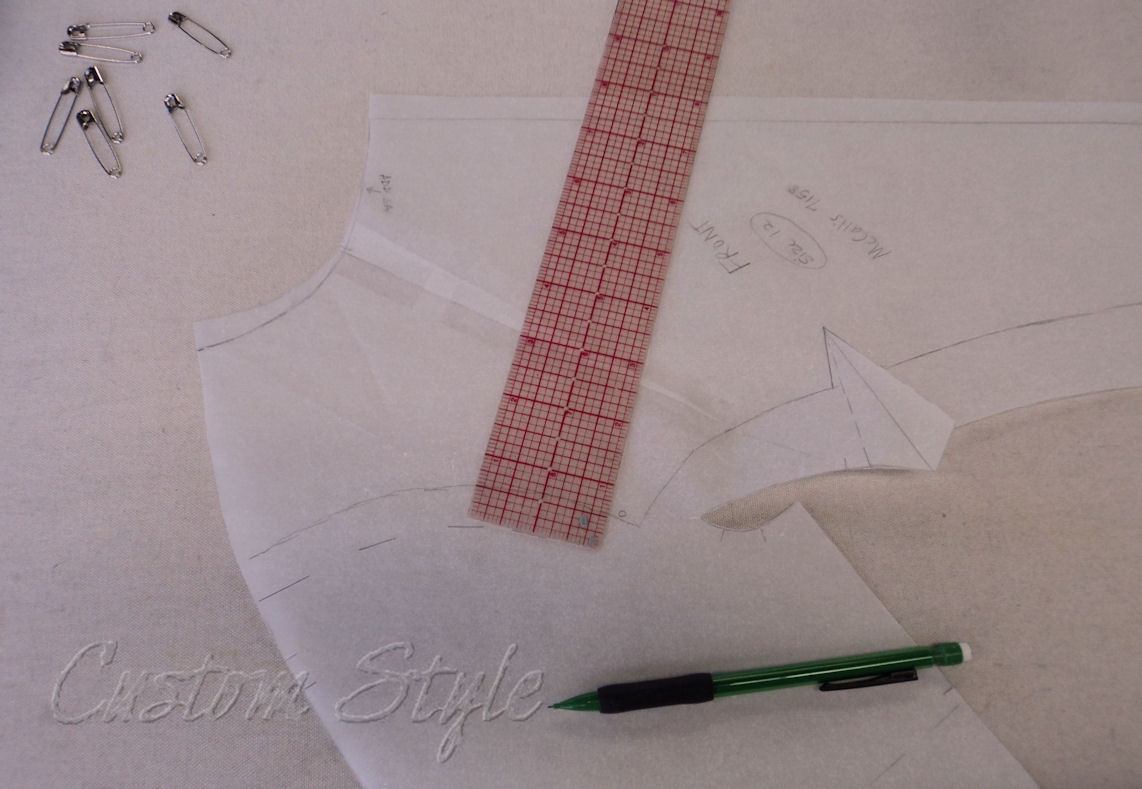
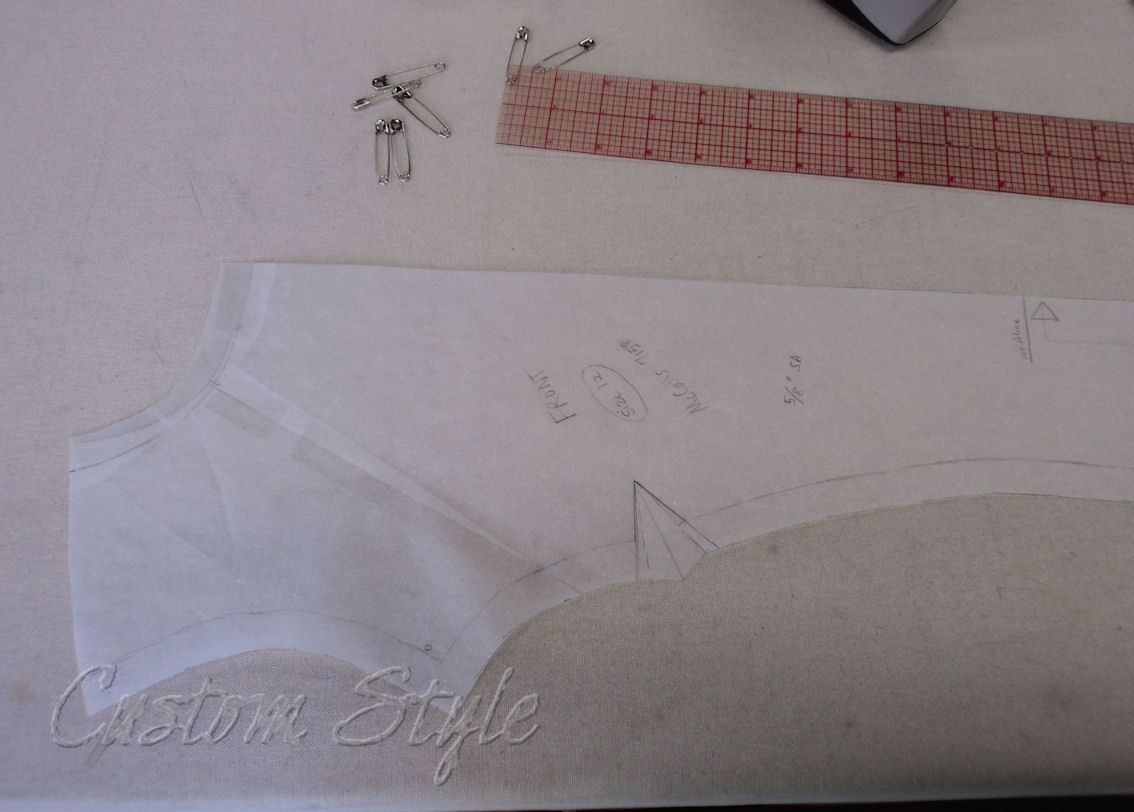
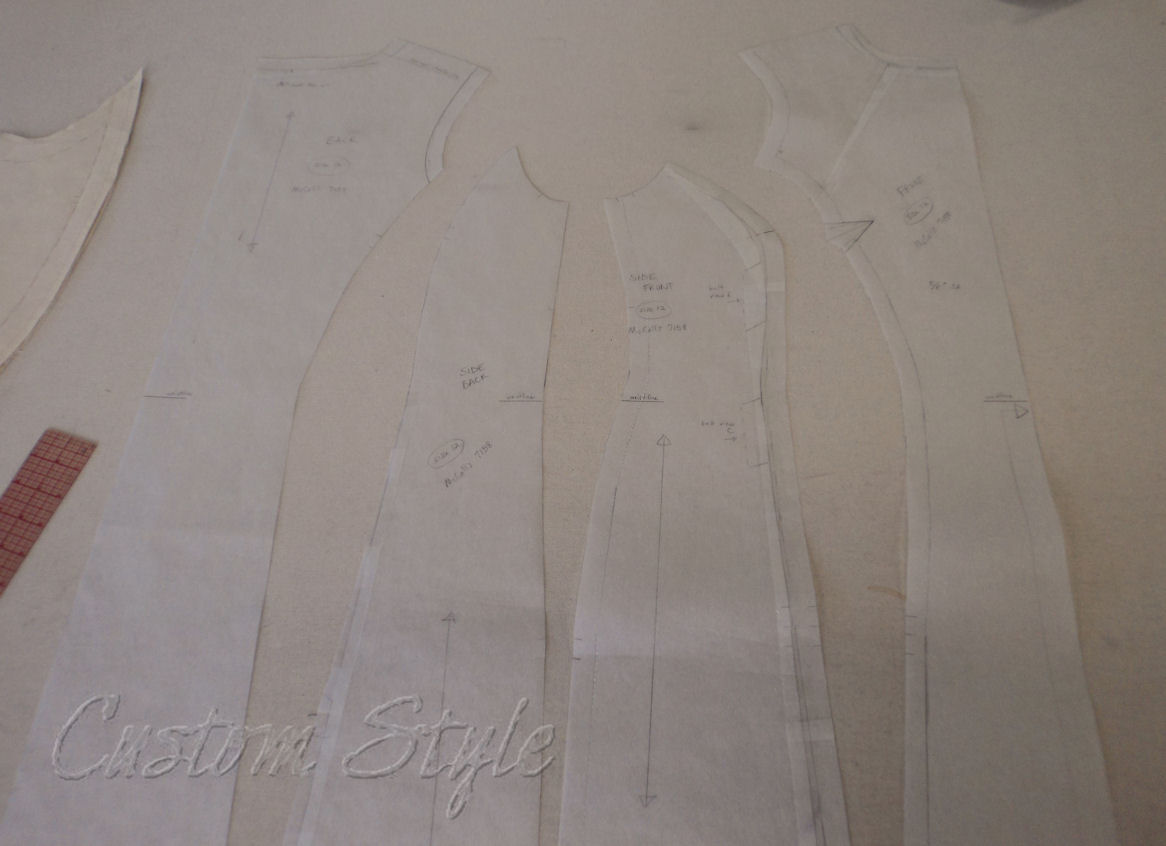
After studying the photographs of the Cassini dress closely, I chose McCall’s 7158 from 1963 because the style lines were the most similar. (I didn’t even realize the pattern date was the same as the Cassini dress until just now when I checked!)
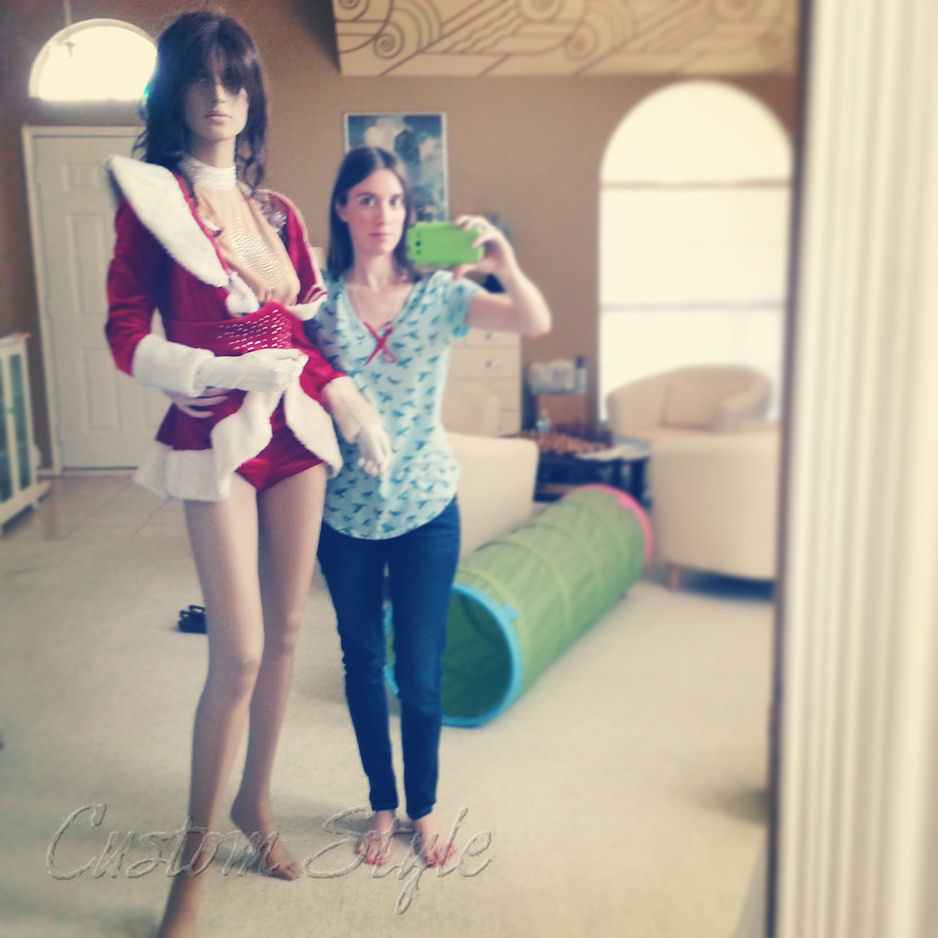
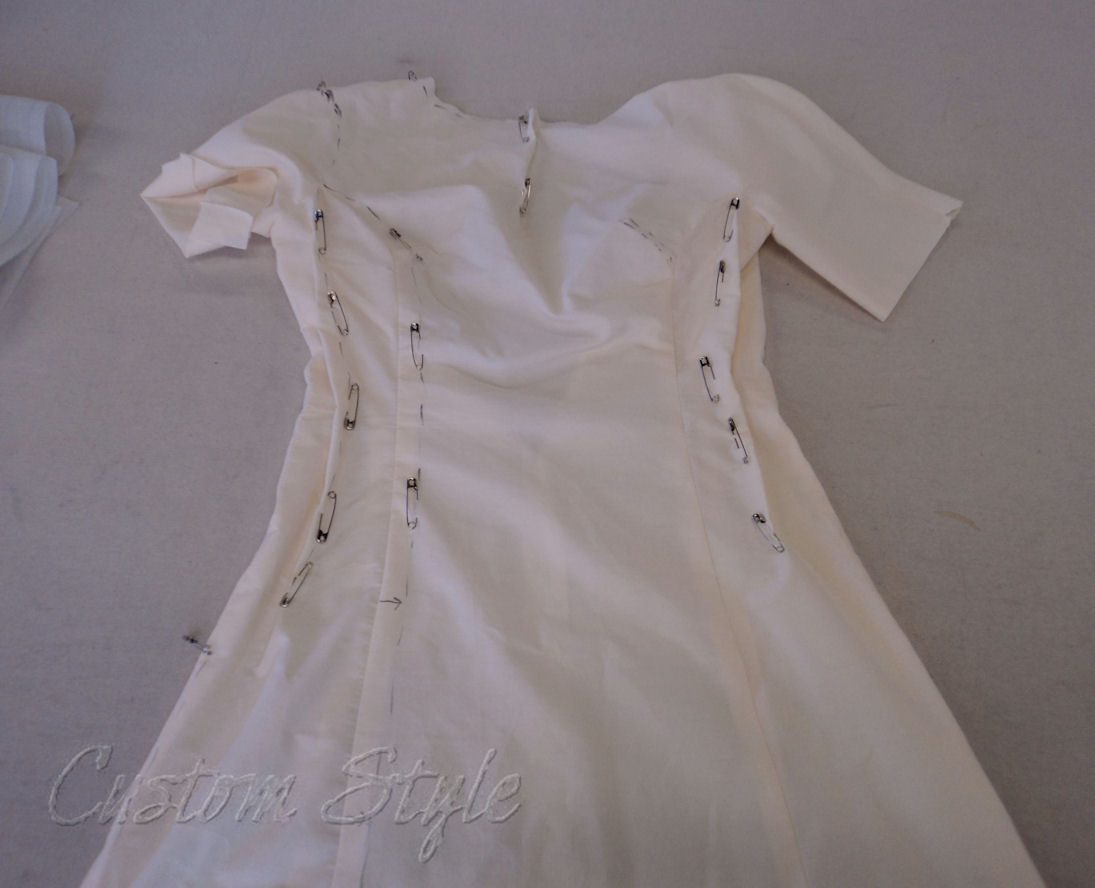
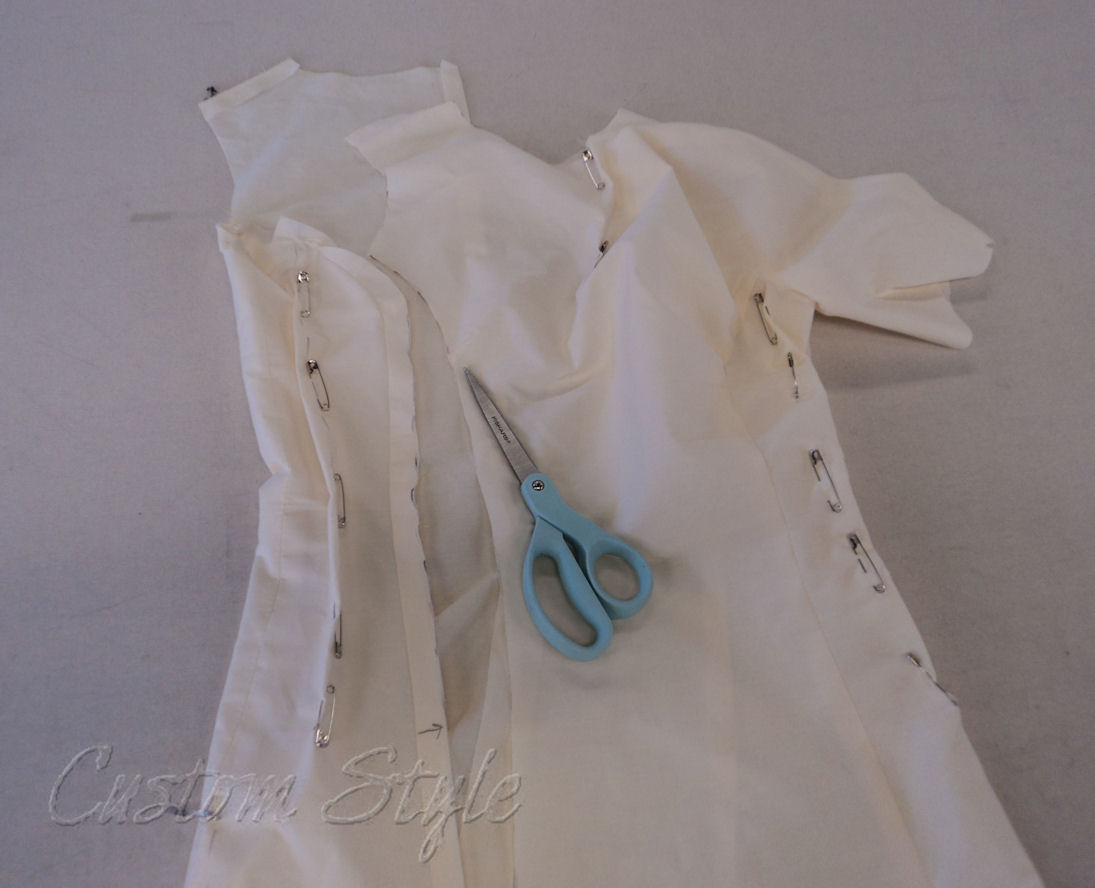
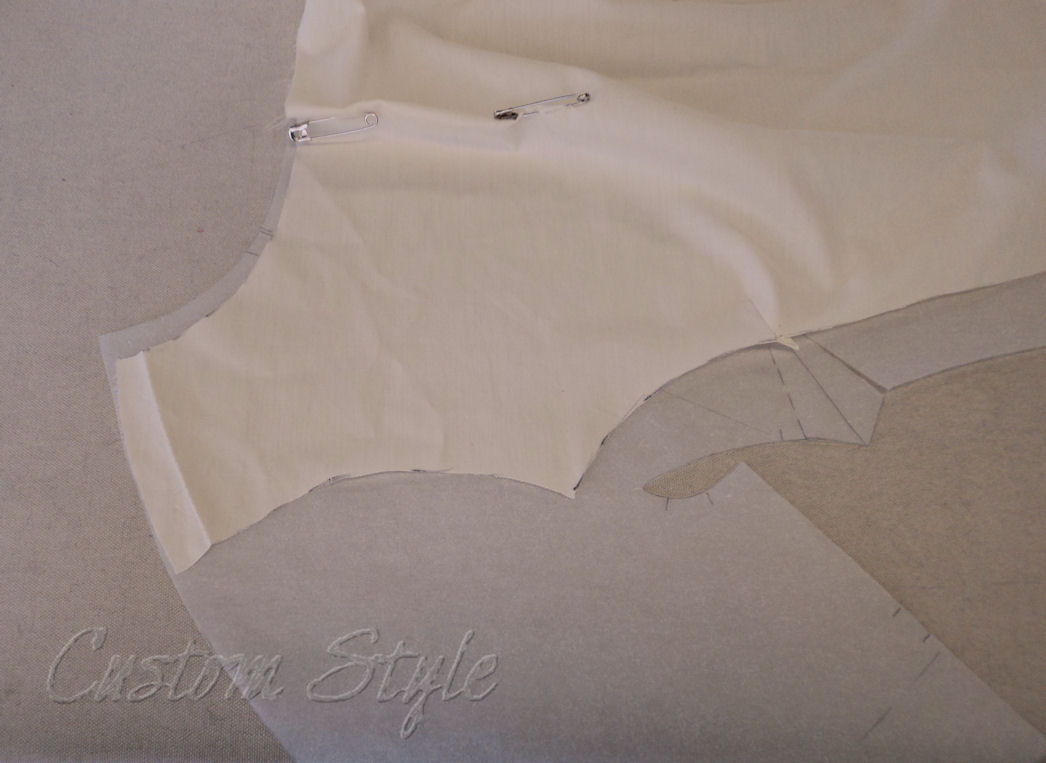
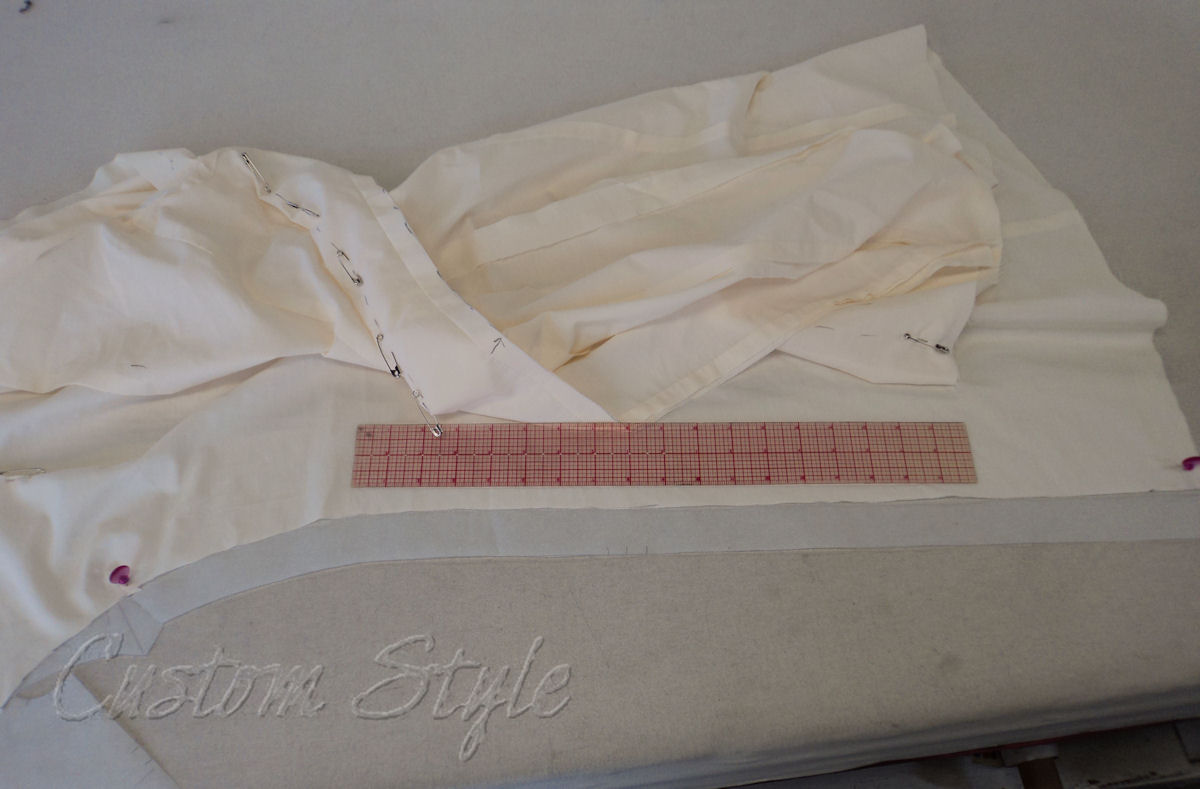
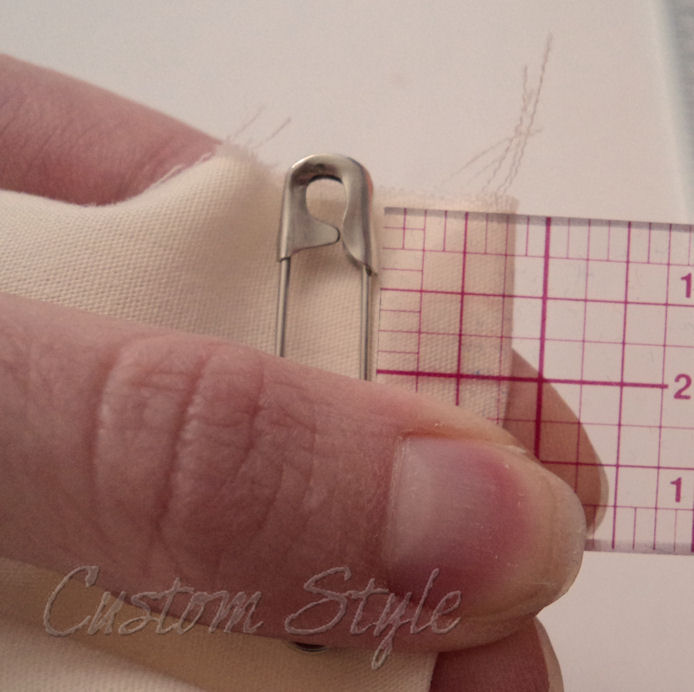
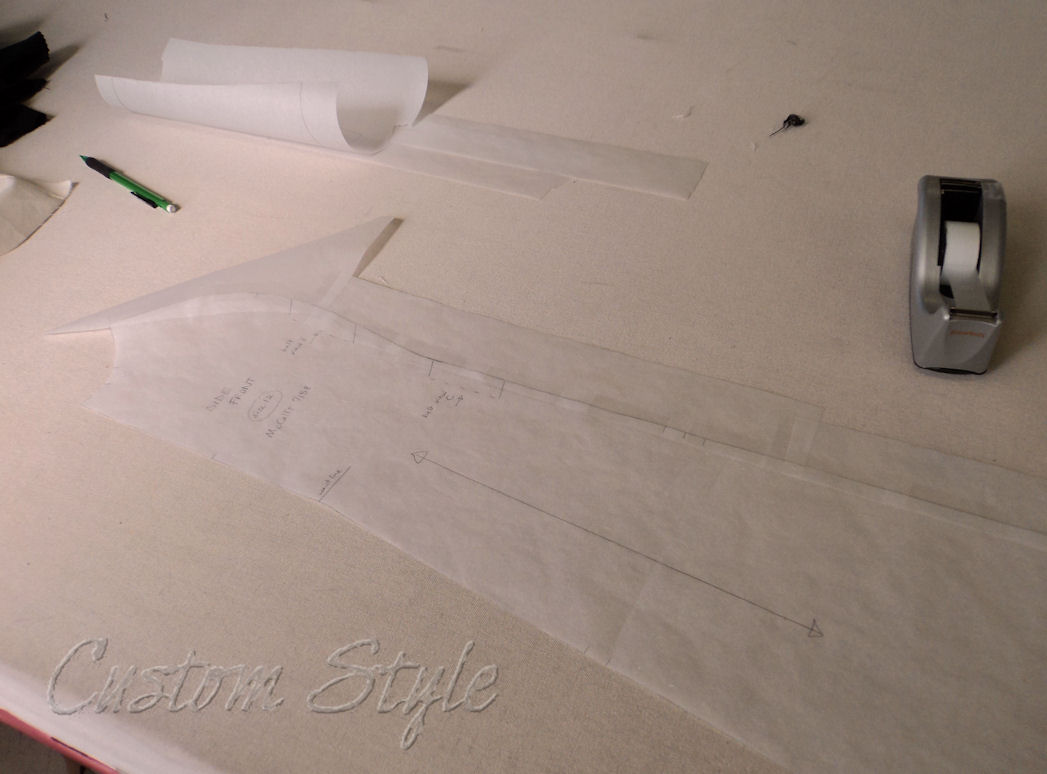
The pattern needed a lot of tweaking. You can see how I fit the mockup in this post.
Once I had made the appropriate pattern alterations, I cut and assembled the lining first so I could double check the fit. Then I cut my linen and underlining fabric and basted them together.
I also made matching linen bias for the “quatrefoil motif” and to finish the arm and neck edges. (I generally dislike facings and try to eliminate them whenever possible.)
My favorite part of this build was creating the single decorative detail near the neckline of the dress.
My least favorite part of this build was making the bust darts cooperate – I almost gave up and threw the dress in the trash because of them. When stitched in the linen, they wanted to be extra pointy and I really wanted to avoid an Anne Hathaway dart dilemma.
Had I not wanted a new Easter dress so badly, and if so many people (online and in real life) had not known about me making it, I doubt I would have been so determined to finish it. (And yes, I did have to remind myself of the advice in this old post.)
I fought those stupid, hateful darts for at least 2 nights after work. I ended up shaping them slightly and stitching them by hand because it was easier to do the minor changes by hand.
Ultimately, I found the biggest improvement to the pointiness was stitching the dart fold down to the underlining to control them. (In hindsight, I probably should have reduced the length of the darts on the pattern before I cut the linen.)
They still aren’t perfect, and they really bug me because that’s all I see when I look at the dress. I’m hoping that by the time next spring comes around, I will have had enough distance from the dress for the darts not to bother me as much.
Somehow, I can make nearly perfect things for others, but when I try to make something couture for myself, it’s never quite right. I know part of the problem is that fitting and seeing the design elements on your own body is nearly as hard as cutting your own hair – it’s hard to back up and see the full picture.
So during two short breaks and part of my lunch break every day for a couple weeks, I did as much as I could to build my dress during my time at the opera. Then I continued working on it at night when I came home. But I managed to complete it in time for Easter Sunday.
Here’s the abbreviated summary of the build, through photos (as usual, click to enlarge):
Easter morning was quite chilly where I live, but since my dress was three layers, I was rather warm even without sleeves.
Since we got out of church before the rest of my family, I ended up taking most of the photos by myself using the camera’s self-timer while I warmed up the food for lunch at my parents’ house (my husband went back at our house to attend to other things).
It was so stinking bright outside, I could hardly keep my eyes open and I was almost crying. I captured lots of photos of myself with my eyes closed or really weird expressions. I did manage to take a few decent shots though.
I had hoped to take some better pictures with my husband’s help later, but nothing turned out any better. He did take a photo of the back (something I had forgotten to do):
And I shall end with a close up of my favorite part – the simple decoration:
I’ve had a couple requests for a tutorial of sorts about how to transfer the fitting marks from a mockup (aka muslin or toile) to the paper sewing pattern. So since I’m in the process of making my Easter dress for this year and the pattern needed a lot of tweaking to be what I want, it was the perfect time to take some photo examples. =)
I’m currently working at The Dallas Opera (helping to build fun 19th century costumes!), so I was able to have my coworker Traci help me fit my mockup during part of a lunch break. Really convenient since the pattern needed more work than I could easily fit on myself alone! Thanks, Traci!
Behold, the truly flattering (*sarcasm*) before & after fitting photos:
Mockups aren’t meant to look pretty. They are meant to be drawn all over and pinched and pinned and then cut up. This is why my fabric choice was a cheapy bedsheet – nothing pretty because I knew I would be throwing it away in the end. I never plan to save or use a mockup once it has served its purpose. If the pieces are big enough, I might cut it up and use the fabric for another mockup later (this fabric was actually left over from Camille’s wedding dress mockup).
There was a pinch taken out of the neckline to eliminate a gap. Tucks were taken out of the side front pieces for a better fit at the bust. Some of the flare was removed from the skirt. The princess seams were moved inward a bit and the neckline was widened slightly at the edges for a more pleasing shape (these adjustments were mainly made to match a photo of the dress I’m copying).
And here’s how I transferred all those marks to my pattern:
First step was to cut right on the new line for the princess seams in the front, cut off the sleeve following drawn armseye, and rip the stitches out of the shoulder seam – all so the mockup could be opened up and traced onto the paper pattern.
The cut mockup was placed on the center front piece and aligned with the pattern’s top line of the bust dart, shoulder seam, and center front. The new lines were traced onto the paper following the mockup at the neck, armseye, and down to top of dart.
Then the mockup was shifted down to line up with the bottom line of the dart on the pattern and the rest of the new seam was traced.
To eliminate the gapping neck in the front, I measured from the top safety pin to the edge of dart.
I forgot to take one photo at this point (but finished alteration is seen in next couple of pictures). To remove that fabric from the pattern without changing the straight center front line (because it’s cut on a fold), I drew a line perpendicular to the neckline and down to a random point on the side seam.
Then the newly drawn line is cut almost all the way down to the side seam – only a tiny point is left attached. And the paper is overlapped the measured amount at the neck (in a V-shape) and taped.
To add the new seamlines on the side front pattern piece, I needed to extend the paper so scraps were taped down the length of pattern.
The mockup was lined up with the paper pattern and pinned down to the table (eventually, I plan to make my cutting table’s surface pinnable too!) and the front edge was traced.
I traced the new side seam (new because of the tuck taken out of the center of the piece) using a tracing wheel, but you can also use a pin to poke a line of holes through the seam and into the paper.
There were only a couple tiny tweaks to the back pattern pieces. I will adjust the center back seam in a final fitting and then insert my zipper accordingly. (It will probably be a bigger seam allowance.)
Altered patterns always look a little weird because they are no longer “standard”. Learn to trust your mockup markings and ignore the unusual look of the corrected pattern on paper and your real garment will fit properly in the end. (And you can always make a second mockup just to be sure!)
I hope this photo walk-through is helpful! Let me know if you have any questions in the comments of this post. =)
Now that my pattern is altered, my real Easter dress fabric (and underlining fabric) is cut and ready to assemble! (See the finished dress in this post.)
My sister’s 1930s wedding was more “Hollywood glamour” than Depression era style. (Here’s Part 1 in case you missed it.) Of all the items I created in such a short time-frame for her special day, I was the most pleased with how her headpiece turned out. But I also had fun with the details of her bridal gown and the flower-girl’s dress.
I subtly embellished her custom wedding dress with beads and feathers. (Once again, I was disappointed that the photographers didn’t take a lot of full-length shots I was hoping to have for my portfolio).
My sister loves and has studied the Japanese language & culture, so she included a few Japanese touches in her wedding (more about those details in a future post). Because of the popularity of Asian influences in the 1930s and ’40s, the Japanese elements blended well with the overall Art Deco style. Thus, we decided to incorporate this into her dress with a custom hand-beaded appliqué of a Japanese crane that wrapped around the side of her dress.
My favorite part of the wedding gown was the train of feathers. When I suggested the feathers to my sister, I didn’t really expect her let me use them on her dress, so I was delighted when she agreed with the idea. I love that the feathers added something wonderful to the back of the dress for the wedding guests to look at during the ceremony. (Very Ginger Rogers.)
After the ceremony, the photographers captured one of the few full-length shots of the gown as the happy couple descended the stairs.
For the reception that followed the marriage vows, I used a few safety pins to bustle her train to keep it up off the ground (so that she could move among the guests more easily).
As you can see in the next photograph, I also pinned together the points of the double train on my copper bridesmaid dress and looped it over my arm for the reception.
The job of the flower-girl was filled by our cousin Lucy, who was four at the time. Her dress was made from the same fabrics as the bridal gown, along with some left-over fabric from my own wedding dress from two years before.
The sash was of the same copper-colored fabric used for the bridesmaids’ dresses and tied in a knot in the front – the perfect way to secure an active little girl’s sash to avoid constant re-tying!
Lucy wore a few bridal feathers in her hair, and the trim at both the skirt hem and edges of the ruffled sleeves had a feather-like look. (I also used a little of the same trim on the edges of the crane appliqué on the bridal gown).
And nothing else captures the vintage 1930s feel quite like a sepia-toned photograph:
More about the vintage location, how some guests dressed for the theme, and overall retro wedding details in a future post…
Related posts:
This past Sunday night, I finally got the text I’ve been waiting to receive since I started this blog…
Just two words – “found em”. The CDs of my little sister’s wedding photos had been found! (They had been missing for nearly eight years! Turns out my parents had them and they had been buried in a bag inside a desk.)
So the last couple of days have been spent sorting through all 1200+ pictures from that day back in 2004. Since there is so much to cover, I have decided to divide the wedding into 3 separate posts: The Bridesmaids, The Bride & Flower-girl, and The Retro Details.
Let me explain the back-story – no, there is too much. Let me sum up.
When my sister got engaged, I had promised to design and build the following items around a 1930s theme:
All this was going to be my wedding gift to my sister – she just had to pay for the materials.
My sister and her fiancé decided to move up their wedding date when they learned that the perfect location for their Art Deco style wedding was available much sooner than expected.
I got the bashful phone call from my sister: “Can you still make all the dresses for my wedding…in 2 months?”
Me: “Um…sure?”
Only for my sister.
Looking back, I honestly have no idea how I managed to do everything in such a short timeframe. We had (luckily) already purchased the fabric for all the dresses before the date changed.
I think the only thing I was truly disappointed with was the fact that the wedding photographers didn’t really take any full-length photographs of the dresses – they were too focused on capturing faces. I was able to crop a few things out of crowd shots and use some pictures that my uncle took (specifically for me) to supplement a few really wonderful shots by the photographers. (Word of advice to future brides: make sure you ask your photographer to zoom out and worry about framing & cropping things later!)
Aside from a few minor details not being completely accurate for the time-period, it all turned out rather well in the end. (Of course, every good wedding has a flaw or two.)
Ester’s dress was the easiest to produce. I used a reprinted 1930s pattern that was available in stores at the time. So I was able to buy the pattern in her size and fit a mock-up a couple days later.
Caroline was the youngest bridesmaid. (I believe she was 10 at the time.) Her dress was a combination of 3 different modern patterns that had the elements I was looking for to create a Thirties style dress that would be age appropriate. The godets at the hem were so pretty when she moved.
Courtney’s dress was the most challenging because she did not live in the same state. Amazingly, it all worked out because she came for a weekend visit prior to the wedding, and I was able to fit a mock-up on her. Her dress was a combination of 2 modern patterns – a blouse and a skirt. I kept the patterns as separates to make it easier and mailed the skirt to her un-hemmed. That way, she was able to have it hemmed to the perfect length after she had purchased her shoes but before she came back for the wedding.
Then there’s my dress. Like Ester’s dress, mine was also a reprinted vintage pattern available in stores at the time. Although it wasn’t my first choice in a design for myself, the double-train attached to the back of the skirt made it unique. It was the last dress I made for the wedding, and it was never completely finished on the inside (but at least you can’t tell!).
More to come about the bridal gown and flower-girl’s dress…
Related posts:
Since today is Lucille Ball’s 100th birthday, here’s a project I had 4 or 5 years ago. I had a client ask for an I Love Lucy costume and she brought me this picture of the Franklin Mint Lucille Ball Vinyl Portrait Doll:
I had a lot of fun building this dress & apron and it is always extra satisfying when a costume ends up looking just like the inspiration picture.
The secret to any well executed period look is all about the proper underwear giving the costume the correct silhouette! Like with Camille’s wedding dress, I again used the ’50s style petticoat from Petticoat Junction – it really completes the authentic fifties look by making the skirt truly A-line.
UPDATE 1/21/12: I have recently found one of my photographs being used (without my permission) on a retail site as their own merchandise. I do not work for any retail company and have never made any samples of this dress, so I can not promise that you will receive the same quality dress if you order from another company using my picture.
I have replaced the above pictures with watermarked copies (something I had forgotten to do when I originally wrote this post). This blog post is the original source of this custom-made dress and it was made by me. If you use my photos elsewhere on the internet, please link back to the source. Thanks. ~ Brooke