So over the course of a week, I made myself three pairs of skinny pants.
Way back in… APRIL!
(I am so far behind in blogging!)

Three pairs of skinny pants. Same pattern, different fabrics.
I needed some more work pants for my part-time job at the fabric store and I decided I’d make some because 1) I hate pants shopping and 2) pants are easy to sew once you have a well-fitting pattern.
I’ve never really bothered to draft myself a custom pants sloper because I’ve always been able to find jeans that fit me if I search long enough in stores.
My biggest problem with ready-to-wear (RTW) trousers is the fit of the waistband. Most waistbands seem to be cut like funnels – hips and crotch curve might be perfect but the back waistband majorly gaps on me. (I have, however, found a couple of brands and specific style numbers in those brands that actually fit well, even in the waistband.)
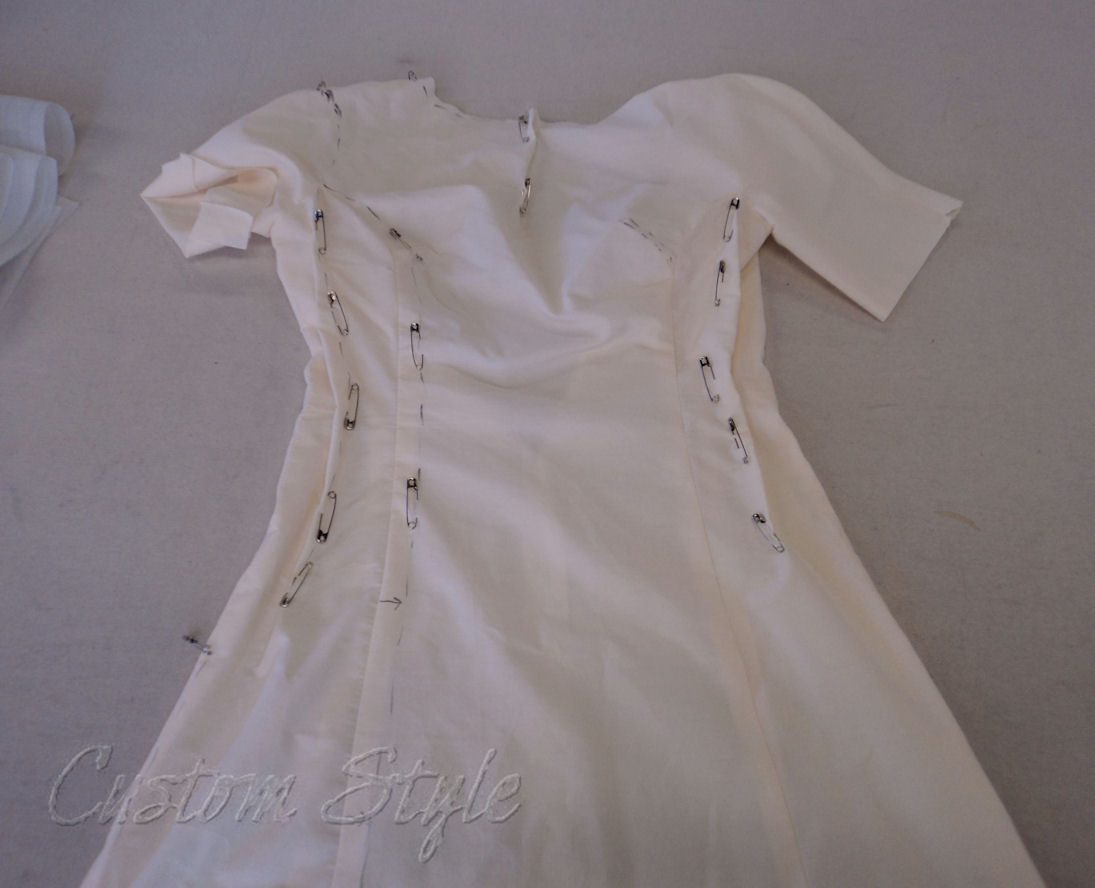
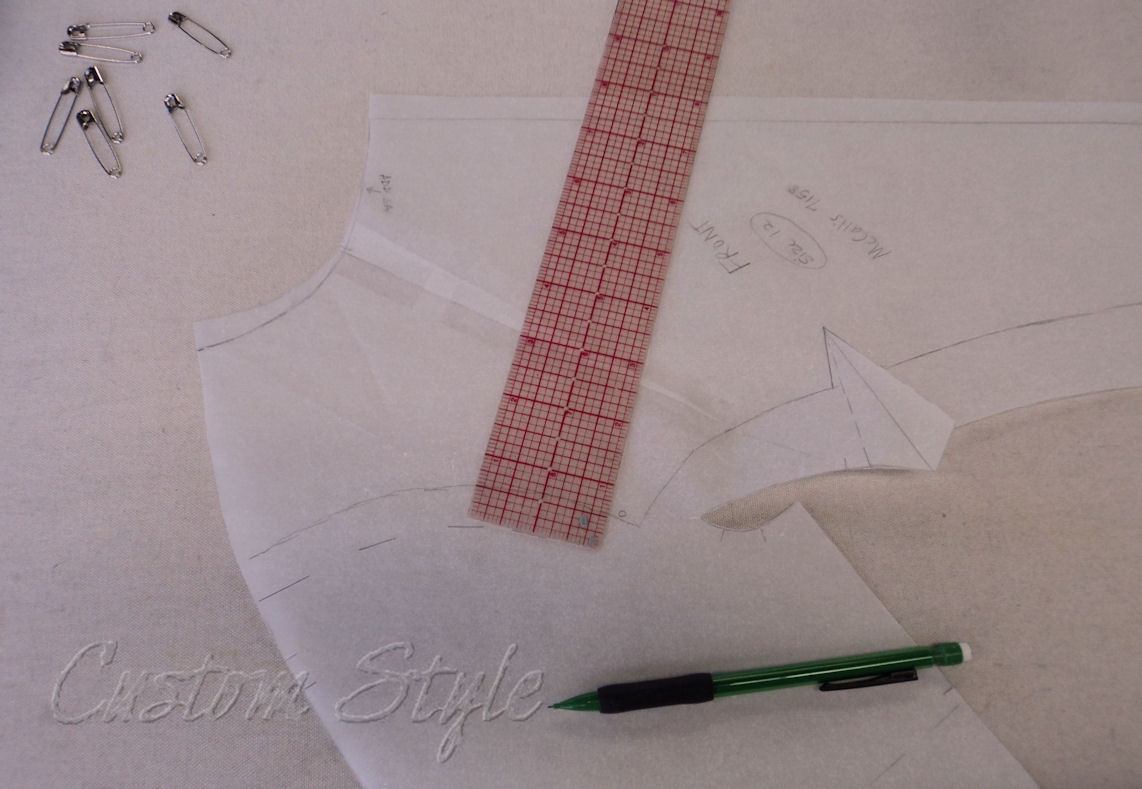
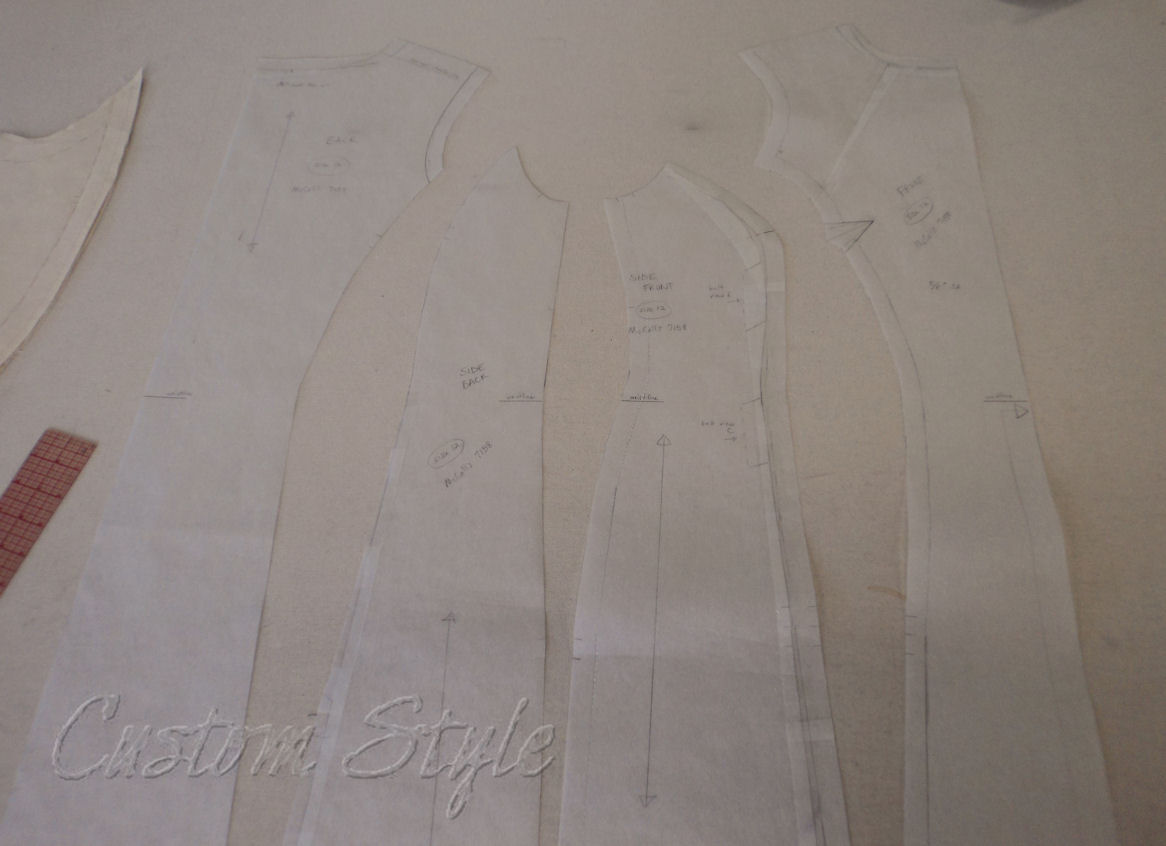
So I pulled out Butterick pattern 5682, traced it in my size according to the size chart, and then compared it to two pairs (different brands) of store-bought skinny jeans that fit me really well.

I turned my RTW jeans inside-out and put one leg inside the other for easier comparison to the paper pattern.
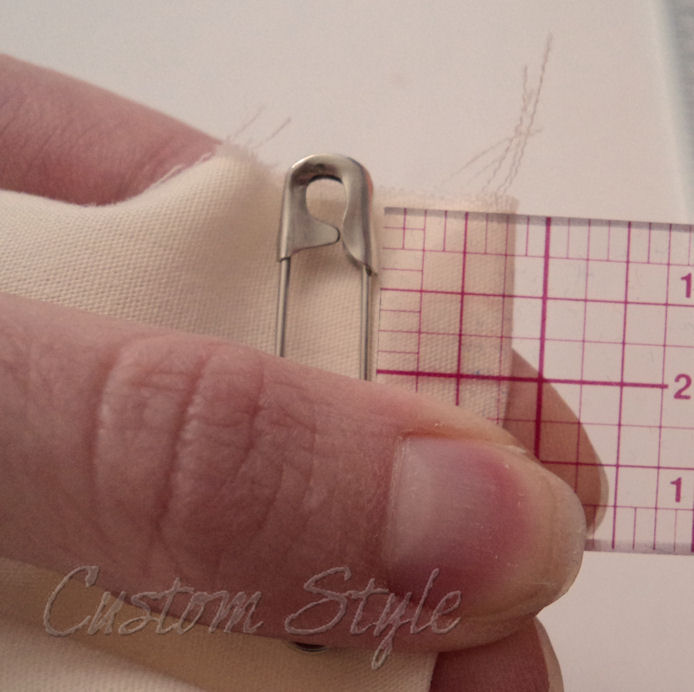
I don’t remember all the exact changes I made, but the main differences between the RTW and paper pattern were the leg width, the height of the waistband (especially in the front), the back pocket size, and the crotch curve.
I needed to trim down the crotch curve – more noticeably at center back than front. If you can get the crotch curve right, that’s half the battle for fitting a pair of trousers!

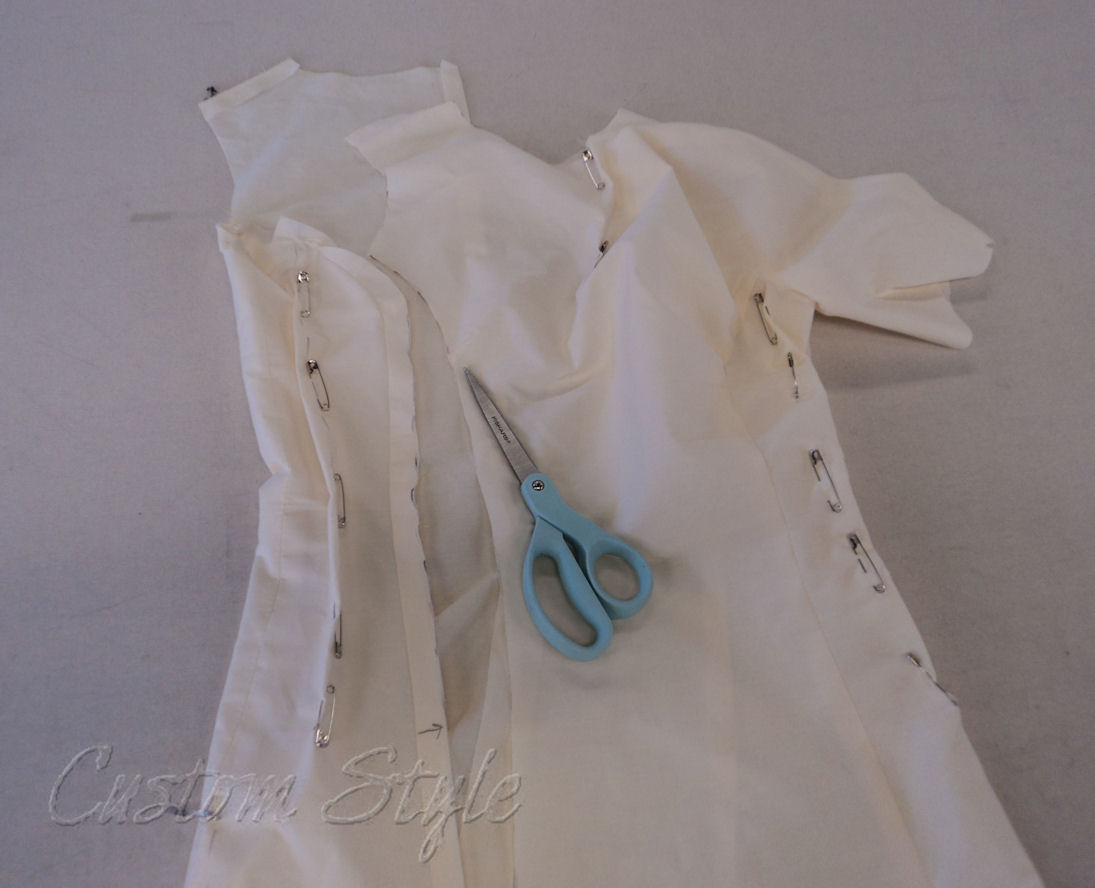
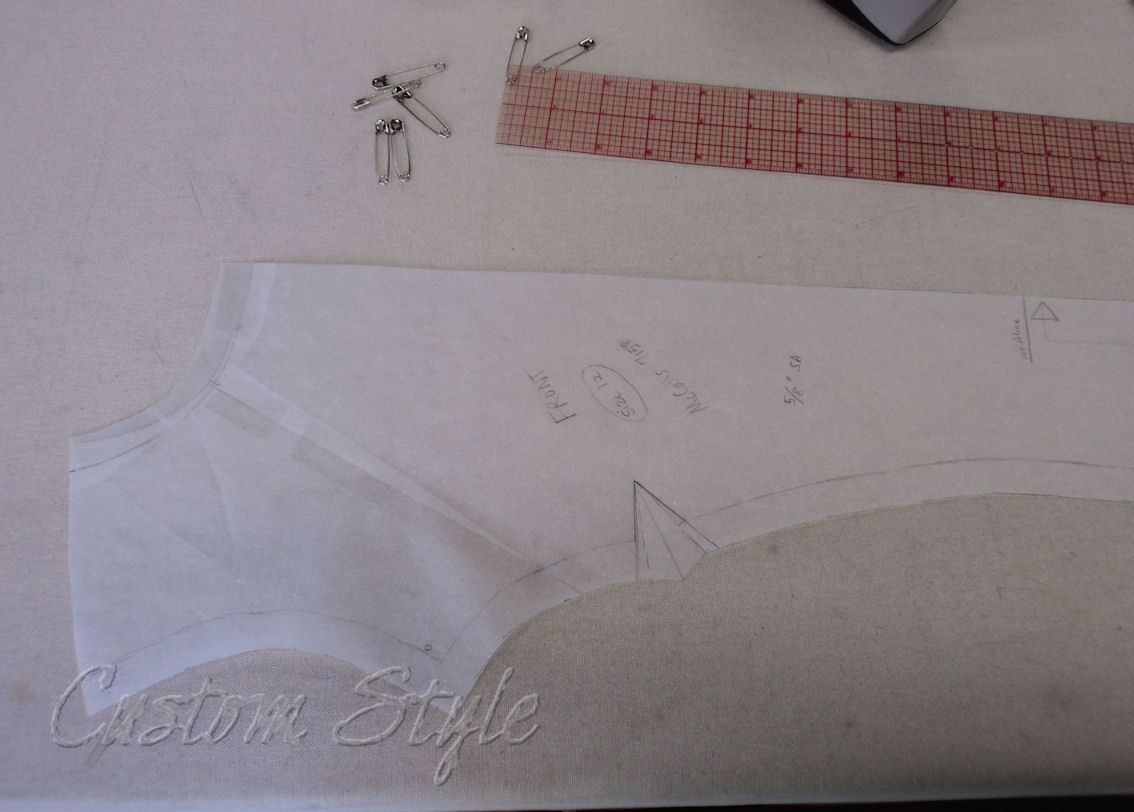
Pattern altered based on my store-bought jeans.
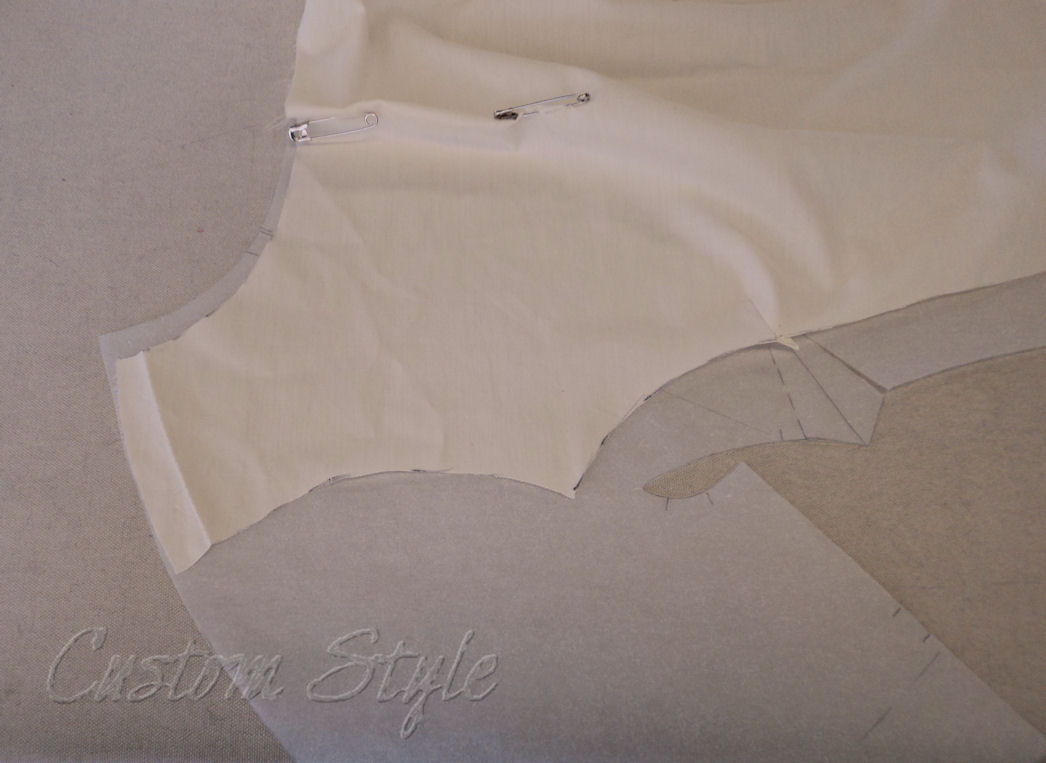
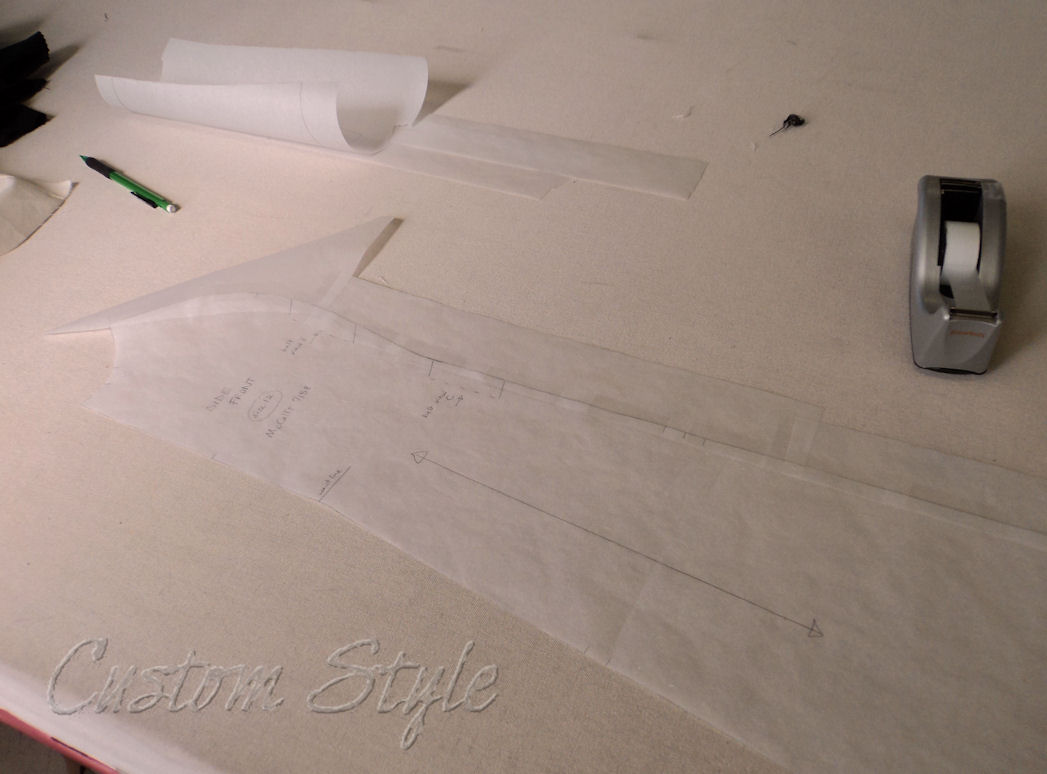
The pattern only included one pocket size, which meant that it was proportionally wrong for most of the sizes in the envelope. Proper pocket proportion and placement is important! (Afterall, you don’t want “gateway mom jeans” because of “dinosauric pockets”.)
So I reduced the pocket size to match my RTW skinnies and referred to the factory placement when making my own.

New cutting and stitching lines drawn on pocket pattern piece.
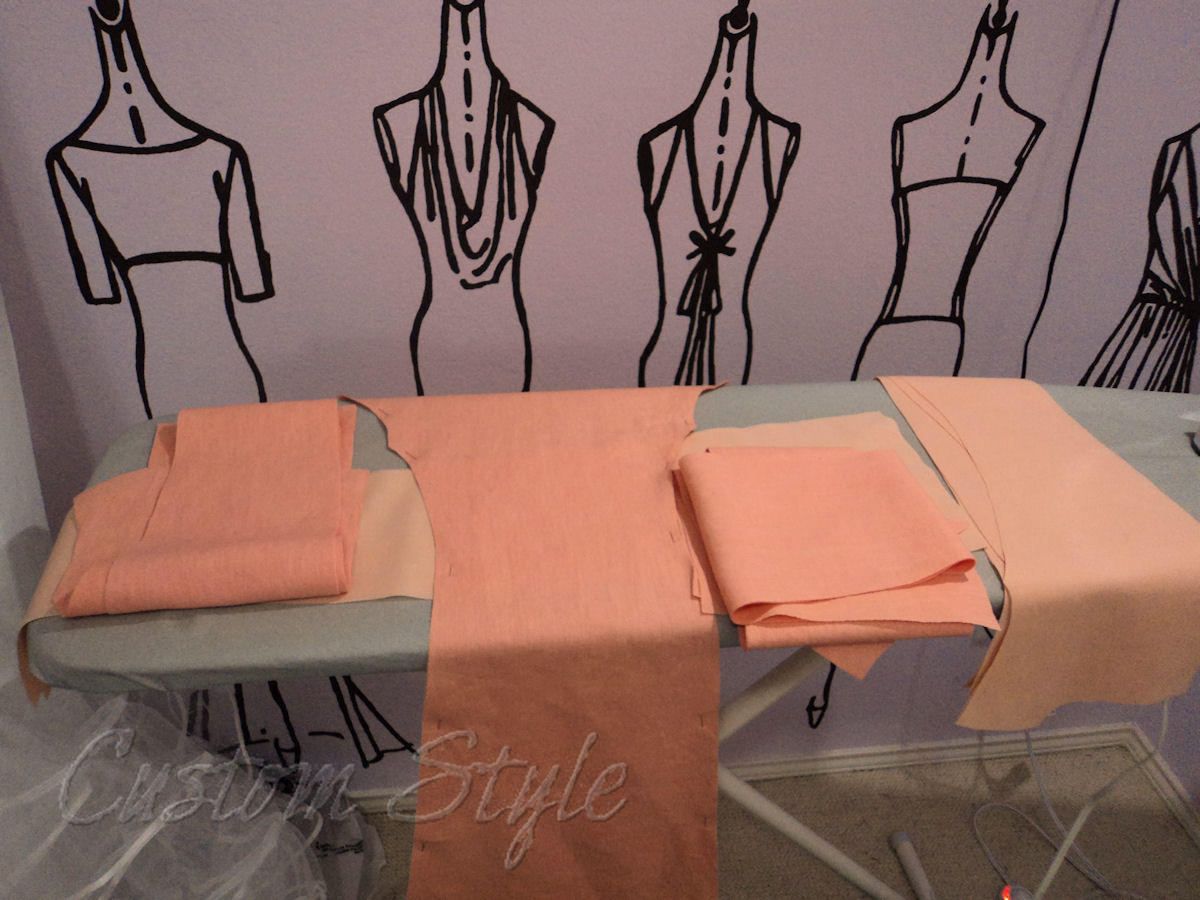
With my pattern corrected well enough on paper, I pulled out some black metallic stretch denim I had. There was enough yardage to re-cut if I needed any major alterations, but I was fairly certain the fit would be close enough to the RTW jeans I like.

This denim is super sparkly and is a solid silver on the back. I actually considered making them with the silver side for a while.
I decided to use some fun cotton fabric to line the front pockets. No one will ever see it but I know it’s there! =)

The Pink Panther in my pockets! (I’ll be blogging another outfit with this fabric later.)
After a quick assembly and matching the details on my RTW pairs, I had a pretty good first pair.

The initial look at the backside in the mirror revealed I needed to drop the waistband a little at center back, which I did after this photo was taken.
I ended up adding half an inch to the hem length on the pattern but the black pair is just long enough. I also curved the waistband a little more to prevent my next pairs from having the slight gap at center back that the black pair has.
Knowing that I never tuck my shirts in, especially when wearing skinny pants, I called the metallic black pair “good enough”…

…and moved on to a second pair – this time in a floral print stretch jacquard:

Floral print stretch jacquard fabric. I like the shiny yet subtle animal print weave of this jacquard, which is more noticeable on the back.
I carefully cut the fabric so the stripey-ness of the floral print would match across the legs and then broke up the print on my tush with intentionally unmatched pockets – something that will hardly ever be seen because of that untucked shirt thing, but still.

Intentionally unmatched back pockets.

Level print placement across both legs. And the surprise print matching on the inseam’s purple flower!
I still had one 3-inch metal fly zipper left, so I decided to make a third pair of skinny pants out of some textured stretch jacquard. (I love love love this fabric! You will be seeing it again because I bought it in 4 different colors.)

Teal stretch jacquard for skinny pants number three!
I didn’t do anything fun for the pockets on my floral print pants because the pants themselves where fun enough. I decided the teal pants needed interesting pockets though.
I had three good options in my cotton print stash – Tube map, tiny turtles, and bigger happy turtles. So I turned to Instagram/Twitter for a vote.

Tiny turtles won the vote, so in my pockets they went!
My first try-on and I think I finally got the waistband curve exactly right! Third time’s a charm and all that. This pair of pants is definitely the most comfortable.

Not-so-great mirror-selfie before I put a button on (the waistband is just pinned closed in this photo).
I did more topstitching detail on my teal pants than I did on the other two pairs. I also cut them out one layer of fabric at a time in order to keep the textured design evenly horizontal across each piece – typical making-things-overly-complicated-just-because-I-can mode of operation.

You can’t really see it because of the textured nature of the fabric, but I like how finished the topstitching makes them look. And see! horizontal texture matching across the inseam! No one will notice, but it makes me happy.
Here’s a back view of the finished teal pants. (After all the picture sorting and editing, I’m reeeally tired of looking at my butt!)

This photo confirms what I suspected after wearing them a few times, I need to take a little out of the back yoke curve (see the weird wrinkle just under the waistband on the right?). Thankfully, that whole untucked shirt thing means no one will really see this, except in this photo.
Pair number four will be perfect – if I ever decide I need to make myself another! I went ahead and corrected the pattern just in case.

Sneak peek of a button-up top I made soon after the pants.
I chose to mimic the look of the buttonholes on my RTW jeans. I made the loop by tracing around the shank of the jeans tack button and bringing it to a point. I used some embroidery/cross-stitch thread and just zig-zag stitched over it following the line I drew.

Faking a RTW jeans buttonhole without using a buttonhole setting on my machine.
I’ve been wearing all three pairs of skinny pants a lot for my retail job at the fabric store. The metallic black pair is a little too warm in the summer (all that metal retains body-heat and reflects it back) but it’s a nice basic without being boring because of the sparkle. The floral pair is just plain fun & trendy. And the teal pair is super comfortable and probably my favorite.

While the skinny pants look great with heels, let’s face it, this is how I wear all of them most of the time. (Yes, yes, I do have 3 pairs of the same shoes in different colors.)
So anyway, I made some pants. Trousers. Whatever.
And it took me so long to blog them, that it seems everyone else in the online sewing community has now made and blogged their own in the meantime! Ahead, but behind all at the same time.